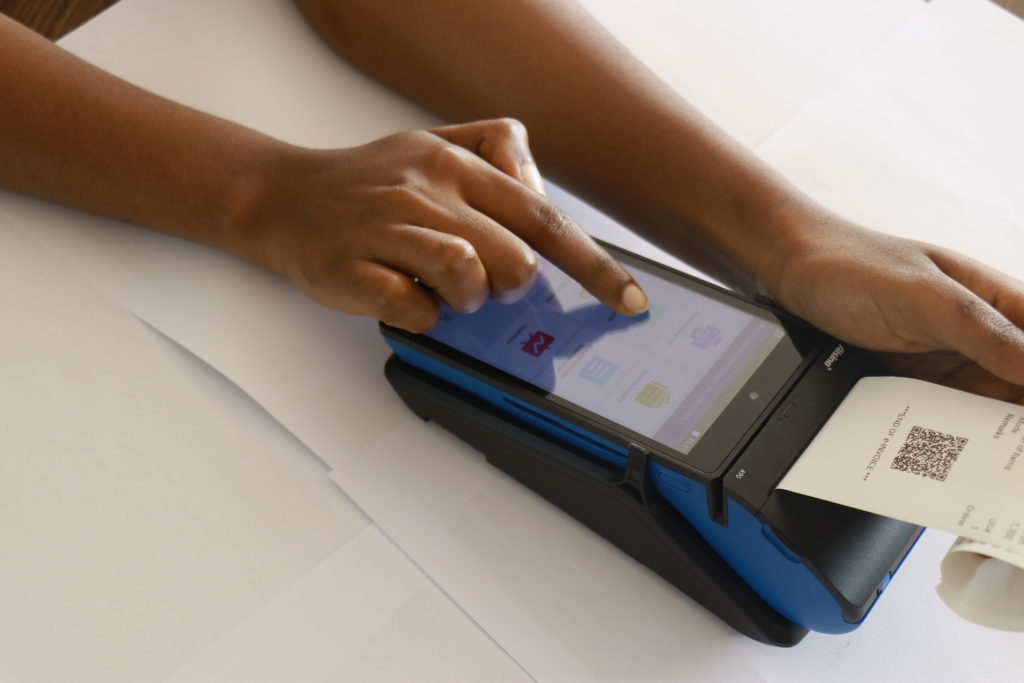
Integrating Fiscalize with QuickBooks Online allows businesses to streamline their EFRIS compliance by automating tax submissions and ensuring real-time synchronization with the Uganda Revenue Authority (URA). Here’s a step-by-step guide on how to connect Fiscalize with your QuickBooks Online account.
Why Use Fiscalize with QuickBooks Online?
QuickBooks Online is a popular cloud-based accounting system, but it doesn’t natively support EFRIS reporting. Fiscalize bridges that gap, offering a seamless integration that automates VAT compliance for Ugandan businesses. Here’s why this integration is beneficial:
- Automatic EFRIS Compliance: No more manual submissions—Fiscalize automatically syncs your QuickBooks Online invoices with the URA.
- Reduced Errors: Automation minimizes the risk of human error in tax reporting.
- Quick Setup: The integration process is straightforward, allowing you to get up and running quickly.
Prerequisites
Before starting the integration process, make sure you have the following:
- A QuickBooks Online account with administrative access.
- A registered Fiscalize account. You can sign up here.
- Your company’s Taxpayer Identification Number (TIN) for URA integration.
Step-by-Step Integration Guide
Step 1: Register and Log In to Fiscalize
- Sign up or Log in to your Fiscalize account by visiting fiscalize.freelyformd.com.
- After logging in, you’ll be directed to the company selection screen. If you don’t have any companies set up yet, you will be automatically redirected to the next step.
Step 2: Add Your Company
- Click Add Company on the company selection screen.
- Provide your company’s Taxpayer Identification Number (TIN). Fiscalize will automatically retrieve your company’s information from the URA system.
Step 3: Connect QuickBooks Online
- Navigate to the Connect ERP section within Fiscalize.
- From the list of ERP options, select QuickBooks Online.
- You will be redirected to QuickBooks Online, where you need to grant permission for Fiscalize to access your company’s data. This enables synchronization between your invoices in QuickBooks Online and EFRIS.
Step 4: Connect to EFRIS
- After connecting QuickBooks Online, you’ll be prompted to connect your EFRIS account.
- Follow the steps to authenticate your company’s EFRIS account using your URA credentials.
- Once connected, Fiscalize will automatically sync your EFRIS account with QuickBooks, ensuring that all invoices generated in QuickBooks are submitted to the URA in compliance with EFRIS.
Step 5: Upload Products and Services
- Fiscalize will automatically fetch your products and services from both QuickBooks Online and EFRIS.
- This step ensures that all your items are correctly registered and synchronized between QuickBooks and EFRIS for accurate reporting.
- Review the imported products and services to ensure that everything is correctly mapped.
Step 6: Set Up the Fiscal Mark on Invoices
- You will be prompted to set up the Fiscal Mark on your invoice PDF layout.
- Fiscalize will request you to use one of your latest invoices from QuickBooks Online.
- Drag and drop the URA Fiscal Mark to the appropriate location on your invoice template. This mark will be included on all future invoices submitted to EFRIS.
Managing and Monitoring Your Invoices
Once the integration is complete, Fiscalize will automatically handle EFRIS submissions for your QuickBooks Online invoices. You can monitor the status of your submissions through the Fiscalize dashboard, where you can:
- View submitted invoices: Check which invoices have been successfully submitted to EFRIS.
- Error notifications: Get alerts if any invoice fails to be submitted and view potential solutions.
- Download reports: Generate reports showing your fiscalized invoices for tax filings or audits.
FAQs
Does Fiscalize support QuickBooks Desktop?
No, this integration is specifically for QuickBooks Online. However, Fiscalize also supports integrations with other ERPs, including Zoho Books and Sage.
Is there any additional cost for the integration?
Fiscalize offers flexible pricing depending on the number of invoices processed. Visit our pricing page for more information.
How long does the setup take?
Most businesses can complete the integration in under 30 minutes.
Conclusion
Integrating Fiscalize with QuickBooks Online is a simple yet powerful way to automate your EFRIS reporting and ensure compliance with Uganda’s tax regulations. By following these steps, you can synchronize your invoices with the URA effortlessly and focus on running your business, knowing that your tax compliance is in good hands.
If you’re ready to streamline your QuickBooks Online EFRIS integration, get started with Fiscalize today.


